In order to install the plugin into JDeveloper 11.1.2.0.0 or later, you must first create a JDeveloper installation bundle. To create the bundle, you use the provided installer.
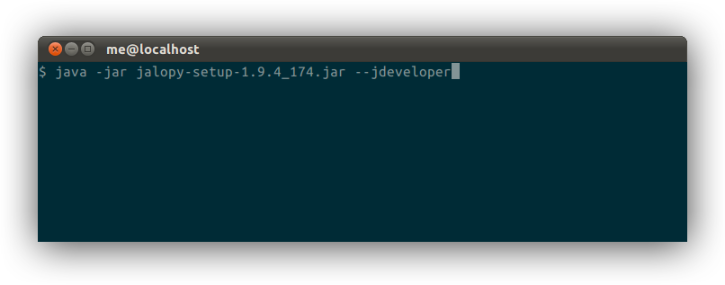
Open a shell and change into the directory where the installer resides
Type
java -jar jalopy-setup-1.9.4.jar --jdeveloperto create the JDeveloper installation bundle files
The installer will create different sub-directories that contain the installation bundles for different JDeveloper target versions. You can install these bundles from within JDeveloper
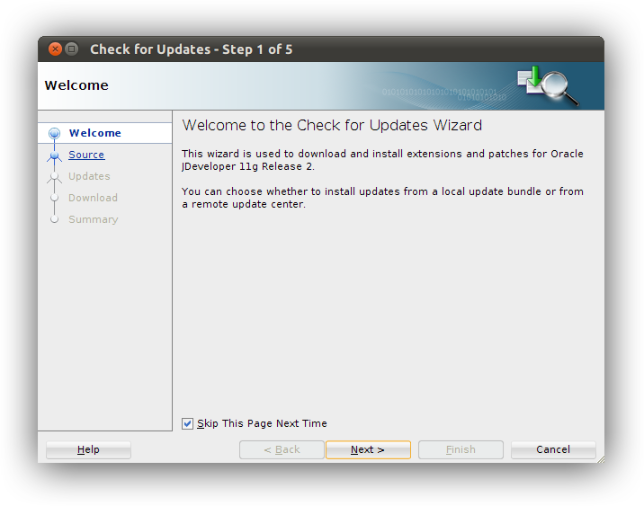
Open or switch to JDeveloper 11.1.2.0.0, and open Help->Check for Updates...

The JDeveloper update wizard appears. Skip the intro page if it should be displayed

Select Install From Local File and choose the bundle file the installer created. The file can be found in the update-center-11.1.2 directory relative to the installer. The installation bundle file is called
jalopy-1.9.4-bundle.zip
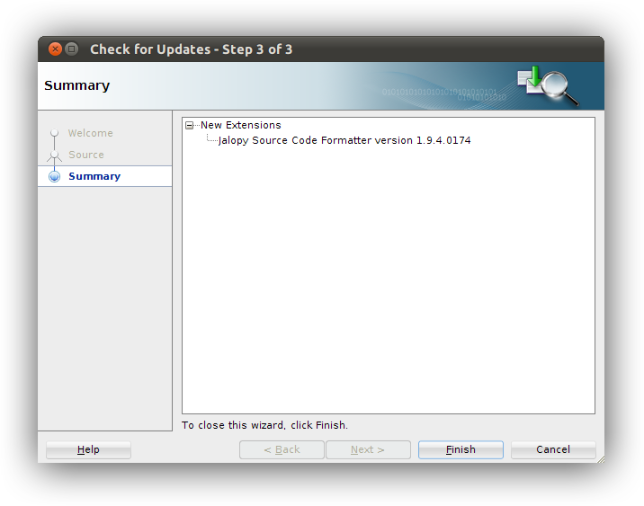
Proceed to the next page where the summary information is displayed. Press Finish to finalize the installation

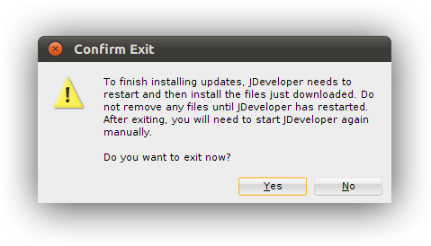
JDeveloper needs to be restarted before the plugin will work. Actually, the plugin installation will only take place during the next time you start JDeveloper.

Confirm the dialog and restart JDeveloper to enable the plugin